
If you grew up on classic jiggly desserts, you’re likely familiar with traditional gelatin. But for those following a plant-based lifestyle, traditional gelatin—sourced from animal collagen—is off the menu. Enter vegetarian gelatin, a fascinating world of seaweed extracts and plant gums that behave quite differently than their animal-based counterparts.
Mastering vegetarian substitutes like Agar-Agar, Carrageenan, or Pectin requires a bit of a “chemistry-first” mindset. You can’t always swap them 1:1, but once you understand how to dissolve and set them, you’ll unlock a world of crystal-clear jellies, creamy panna cottas, and firm vegan gummies.
1. Choose Your Agent: Understanding the Options
Not all vegetarian gelling agents are created equal. Your success depends entirely on picking the right tool for the job.
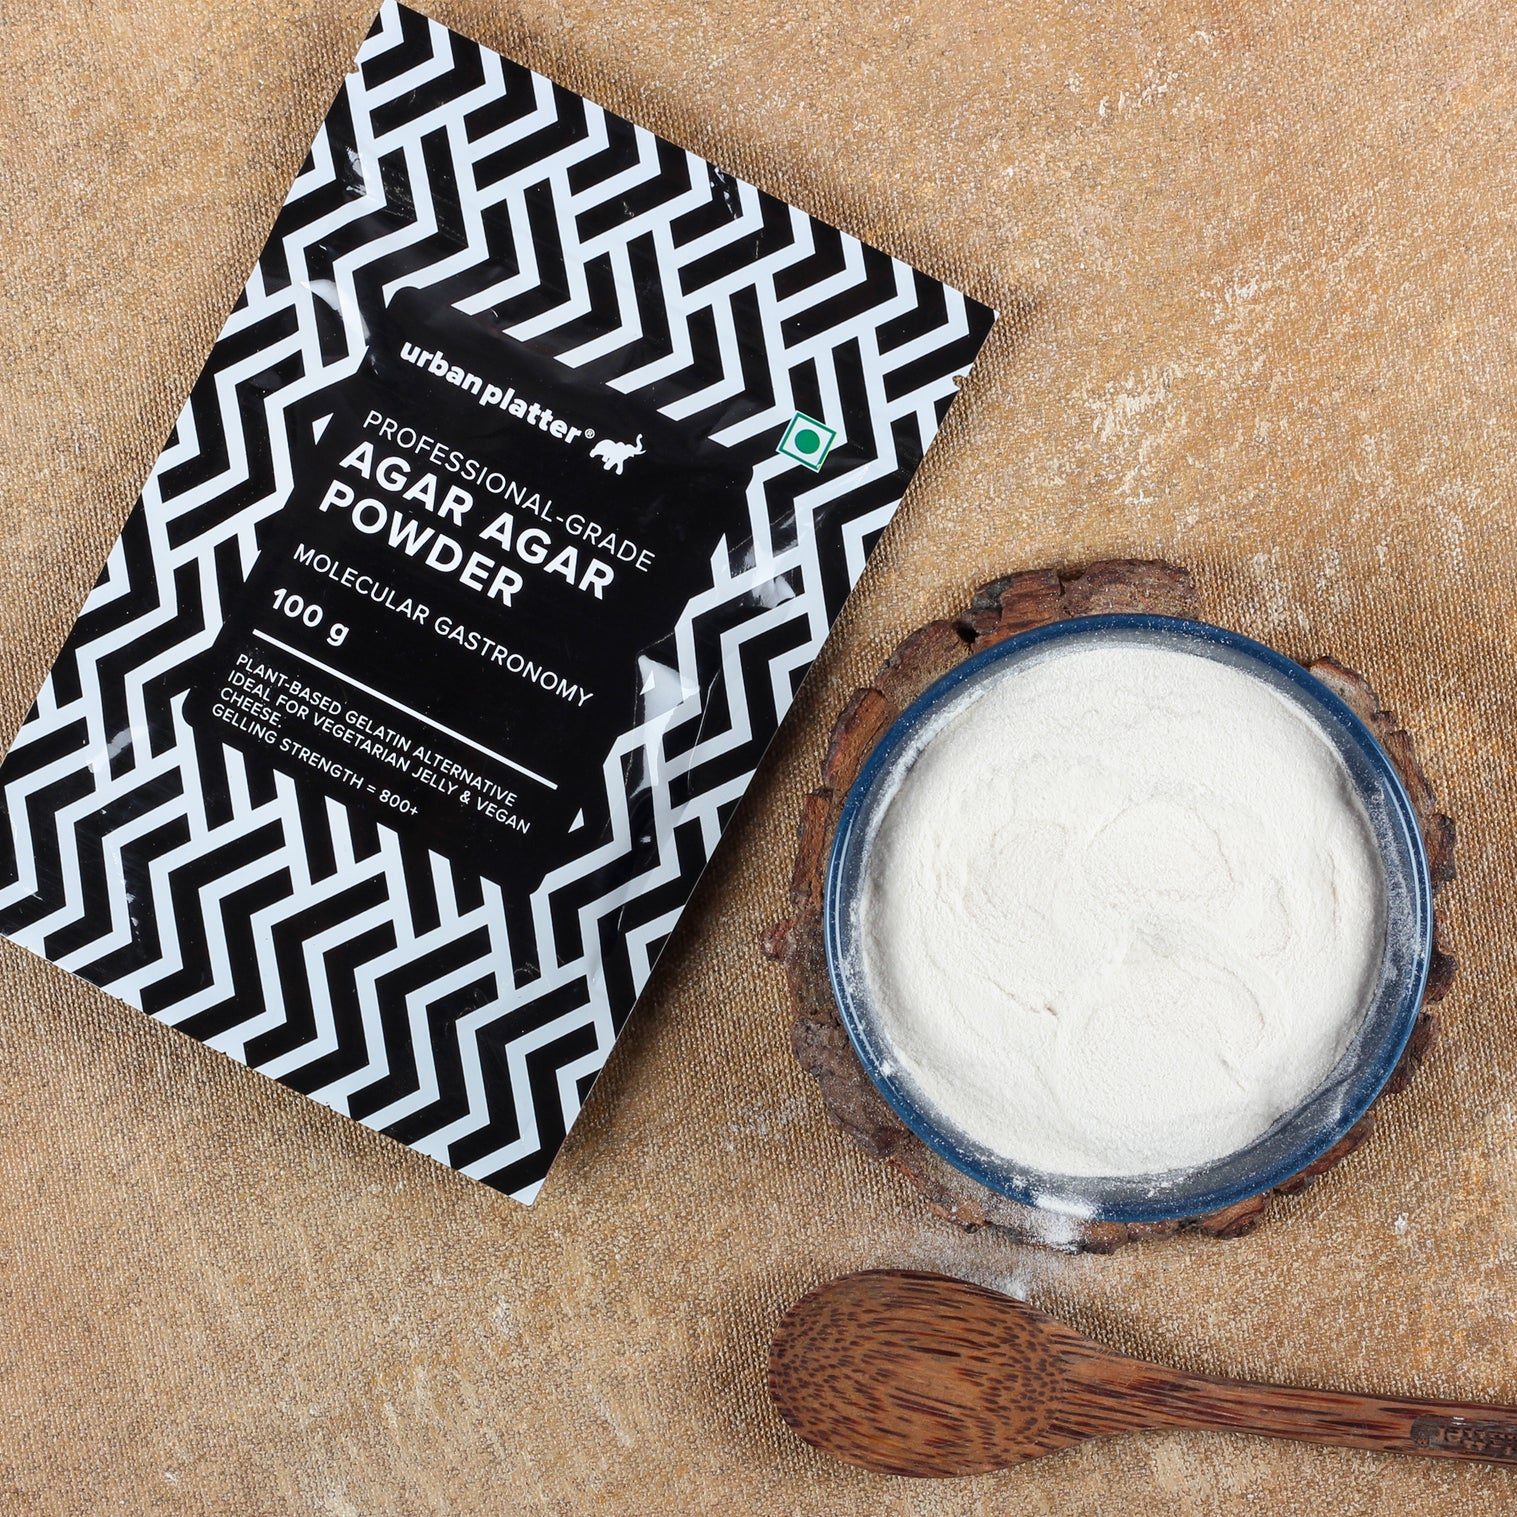
Agar-Agar (The Gold Standard)
Derived from red algae, Agar-Agar Powder is the most popular substitute. It provides a firm, brittle set rather than a bouncy one.
-
Best for: Jellies, custards, and firm candies.
-
Strength: It stays solid at room temperature (up to 85°C/185°F), making it perfect for summer potlucks.
Carrageenan (The Creamy Choice)
Also from seaweed (Irish Moss), carrageenan comes in two main types: Kappa (sets firm and brittle) and Iota (sets soft and creamy).
-
Best for: Vegan cheeses or zero-dairy mousses.
Pectin
Derived from citrus peels and apples, pectin requires high sugar and acid levels to set.
-
Best for: Jams, jellies, and chewy pâte de fruit.
2. The Golden Rule: Heat is Non-Negotiable
Unlike animal gelatin, which can dissolve in warm liquids (around 35-40°C), Agar-Agar must be boiled.
To properly dissolve vegetarian gelatin, follow this sequence:
-
Whisk into Cold Liquid: Always start by whisking your powder into room-temperature or cold liquid. If you drop it straight into boiling liquid, it will clump instantly, creating “fish eyes” that will never dissolve.
-
The Hydration Rest: Let the powder sit in the liquid for about 5 to 10 minutes. This allows the particles to swell.
-
Bring to a Full Boil: Place the mixture over medium-high heat. You must reach a rolling boil. For Agar-Agar, you usually need to maintain a simmer for 2 to 5 minutes while stirring constantly.
-
Check for Clarity: The liquid should transition from cloudy to clear (or translucent). If you see tiny grains on the back of your spoon, it isn’t ready.
3. Mastering the Ratios
Because plant-based gelling agents are often more powerful than animal gelatin, “winging it” usually leads to either a liquid mess or a rubbery brick.
| Outcome | Agar Powder Ratio (per 1 cup liquid) | Note |
| Soft Set (Mousse/Cream) | 1/2 tsp | Delicate and spoonable. |
| Standard Set (Jelly) | 1 tsp | Holds its shape well. |
| Firm Set (Gummies) | 2 tsp | Very stable and bouncy. |
Pro Tip: If you are using Agar Flakes instead of powder, you need to triple the amount (1 tbsp flakes ≈ 1 tsp powder). Flakes also require a longer boiling time to fully break down.
4. Factors That Can Ruin Your Set
Agar agar powder is sensitive to its environment. If your recipe isn’t setting, one of these “set-killers” might be the culprit:
-
Acidity: High-acid ingredients (lemon juice, vinegar, or citrus) can weaken the gel bonds. If making a very tart jelly, increase the amount of gelling agent by 25%.
-
Enzymes: Just like animal gelatin, certain raw fruits contain proteases that break down protein chains. Avoid using raw pineapple, kiwi, papaya, or mango.
-
The Fix: Briefly boil these fruits to deactivate the enzymes before adding your gelling agent.
-
-
Chocolate and Fat: High-fat plant milks (like full-fat coconut milk) can slow down the setting process. Ensure a vigorous boil to integrate the fat and the gelling agent thoroughly.
5. The “Freezer Test”: Checking Your Work
The beauty of Agar-Agar is that it sets very quickly as it cools. You don’t have to wait six hours to see if you succeeded.
Before pouring your entire batch into a mold:
-
Place a small metal spoon in the freezer for a few minutes.
-
Drop a small amount of your boiled mixture onto the cold spoon.
-
It should set within 30 seconds.
If it’s too soft, add a pinch more powder (dissolved in a tiny bit of water first) to your pot and re-boil. If it’s too hard, add a splash more liquid.
6. Proper Cooling and Unmolding
Once your mixture is dissolved and tested, pour it into your molds while it is still hot. Unlike animal gelatin, which requires refrigeration to set, vegetarian gelatin will begin to solidify at 32–45°C (90–113°F).
-
Don’t Disturb: Leave the molds on the counter until they are firm to the touch. Moving them too early can “break” the microscopic lattice forming inside.
-
Refrigerate for Flavor: While it sets at room temp, chilled desserts always taste better.
-
Unmolding: Use a thin knife to break the vacuum seal around the edges. Since vegetarian gels are more brittle, they don’t “stretch” like Jell-O—be gentle to avoid snapping the mold in half.
Conclusion
Switching to vegetarian gelatin doesn’t mean sacrificing the textures you love. By remembering the “Cold Start, Hard Boil” rule and respecting the power of the ratio, you can create professional-grade desserts that are entirely plant-based.
Would you like me to provide a specific recipe for a firm vegan fruit gummy or a creamy coconut panna cotta using these techniques?
