
Introduction
Turning your favorite photos into embroidered masterpieces might seem like magic, but learning how to convert JPG to PES file format is a skill anyone can master. Converting JPG files to the PES format used by Brother embroidery machines opens up a world of creative possibilities, from personalized gifts to custom apparel.
In this guide, we’ll break down exactly how to convert JPG to PES file through simple, manageable steps. You’ll discover both automated and manual methods to convert JPG to PES file, learn which program works best for different types of images, and pick up professional tricks to ensure your embroidered results look fantastic every time.
Understanding PES Files
Before we dive into conversion, let’s understand what makes PES files special:
-
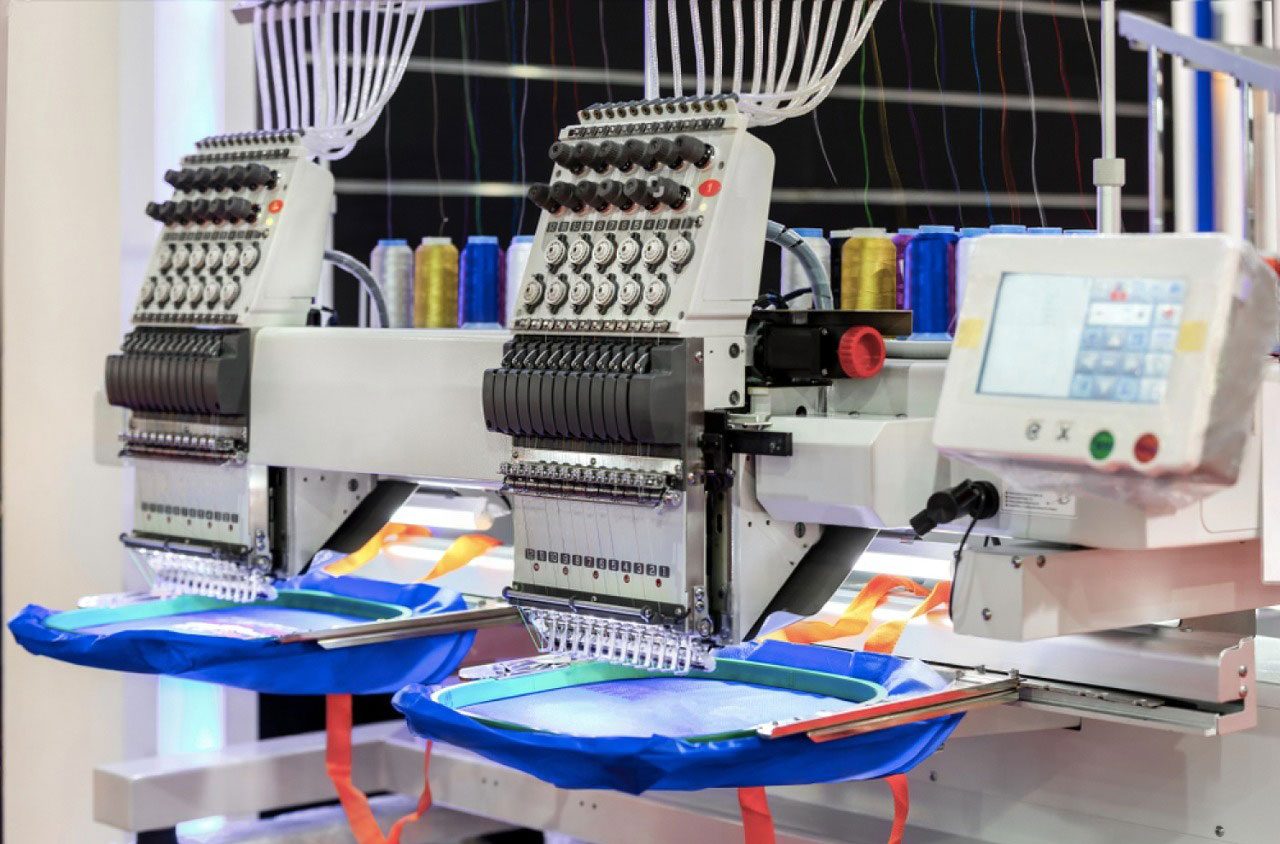
Brother’s Proprietary Format: PES is the native file type for most Brother embroidery machines
-
Stitch Instructions: Contains precise needle movement and color change data
-
Version Variations: Newer machines may require updated PES versions (PES v10, etc.)
Choosing the Right JPG Image
Not all photos convert well to embroidery. These characteristics make for the best results:
Ideal Image Qualities
-
Clear, high-contrast subjects
-
Simple backgrounds or transparent PNGs
-
Limited color palette (6 colors or fewer)
-
Defined edges rather than soft blends
Problematic Elements
-
Gradual shadows and highlights
-
Tiny intricate details
-
Blurry or low-resolution areas
-
Complex color gradients
Preparing Your JPG for Conversion
Step 1: Basic Image Editing
Use best tools like GIMP or Photoshop to:
-
Crop to focus on the main subject
-
Adjust brightness/contrast
-
Simplify colors using posterize or threshold effects
Step 2: Size Considerations
Determine your final embroidery dimensions first:
-
Small designs (under 4″): Simplify details
-
Large designs: Can accommodate more complexity
-
Always consider your machine’s hoop limitations
Step 3: File Format Prep
Save your edited image as:
-
PNG with transparent background (best)
-
High-quality JPG (if transparency isn’t needed)
Conversion Methods Compared
Automatic Conversion Tools
Best for:
-
Beginners
-
Simple designs
-
Quick projects
Top Program Options:
-
Hatch Embroidery Auto-Digitize
-
Embrilliance StitchArtist
-
SewArt
Manual Digitizing
Best for:
-
Complex images
-
Professional results
-
Custom stitch effects
Recommended Program:
-
Wilcom EmbroideryStudio
-
Pulse Ambassador
-
Ink/Stitch
Hybrid Approach
Many professionals combine:
-
Auto-digitizing for base structure
-
Manual refinement for problem areas
-
Multiple test stitches
Step-by-Step Conversion Process
Step 1: Import Your Prepared JPG
Open your image in chosen program. Most programs allow simple drag-and-drop importing.
Step 2: Set Design Parameters
-
Input your target dimensions
-
Select appropriate stitch density (typically 0.4-0.5mm)
-
Choose your fabric type (affects stitch settings)
Step 3: Digitizing Techniques
For Auto-Digitizing:
-
Select appropriate preset (logo, portrait, etc.)
-
Let program analyze and convert
-
Review and adjust results
For Manual Digitizing:
-
Trace key outlines with satin stitches
-
Fill large areas with tatami or fill stitches
-
Add detail with running stitches
-
Apply appropriate underlay
Step 4: Stitch Optimization
Essential adjustments:
-
Density: Balance coverage and fabric flexibility
-
Direction: Follow natural contours of shapes
-
Sequence: Logical progression to minimize jumps
-
Underlay: Stabilize design and prevent puckering
Step 5: Color Management
Convert image colors to thread palette:
-
Use manufacturer’s color charts
-
Limit total color changes
-
Group similar color areas
Step 6: Export as PES
Save your file:
-
Select PES format
-
Choose correct version for your machine
-
Include design name and size in filename
Pro Tips for Better Conversions
Image Preparation Secrets
-
Convert to grayscale first to evaluate contrast
-
Use edge detection filters to highlight outlines
-
Create separate layers for different color regions
Stitch Quality Tricks
-
Vary stitch lengths for natural textures
-
Use split stitches for smooth curves
-
Add compensation for fabric stretch
Machine Performance Tips
-
Reduce stitch count for faster production
-
Optimize jump stitches for efficiency
-
Add tie-off points where needed
Common Problems & Solutions
Issue: Blurry or Unclear Details
Fix:
-
Simplify the design
-
Increase contrast in original image
-
Use satin stitches instead of fills for small elements
Issue: Puckered Fabric
Fix:
-
Add more underlay stitches
-
Reduce overall stitch density
-
Use appropriate stabilizer
Issue: Thread Breaks
Fix:
-
Check for overly dense areas
-
Adjust tension settings
-
Use higher quality thread
Issue: Color Bleeding
Fix:
-
Add more separation between color blocks
-
Use darker underlay for light colors
-
Consider topping for problem fabrics
Non Paid Alternatives for Beginners
If you’re not ready to invest in paid program:
-
Ink/Stitch with Inkscape
-
Completely non Paid open-source option
-
Steeper learning curve
-
Good manual digitizing practice
-
-
MyEditor Online Non Paid Version
-
Web-based convenience
-
Basic auto-digitizing
-
Watermarked outputs
-
-
SewWhat-Non Paid Trial
-
Test basic features
-
Windows only
-
Limited functionality
-
When to Consider Professional Help
Outsourcing makes sense when:
-
You need complex designs digitized quickly
-
Working with precious/expensive materials
-
Facing tight deadlines
-
Needing specialty techniques (3D puff, sequins)
Maintaining Quality Through Production
Final checks before stitching:
-
Review design in program simulator
-
Stitch test on scrap fabric
-
Verify thread color matching
-
Check for registration issues
-
Confirm proper hooping technique
Conclusion
Converting JPG images to PES embroidery files is both an art and a science. While automatic tools offer quick results, mastering manual techniques gives you complete creative control. Remember that every design requires unique considerations – what works for a simple logo may fail for a detailed portrait.
Start with simple projects to build your skills, don’t skip the test stitches, and be prepared to make adjustments. With practice, you’ll develop an eye for which images will convert well and how to tweak problem areas.
The journey from snapshot to stitch is incredibly rewarding when you see your digital creations come to life in thread. Now that you understand the process, grab an image and start experimenting – your next embroidered masterpiece awaits!
